This is a short tutorial on adding the Classic Space 30 logo. Fairly basic stuff, but I wanted to make it as easy as I could.
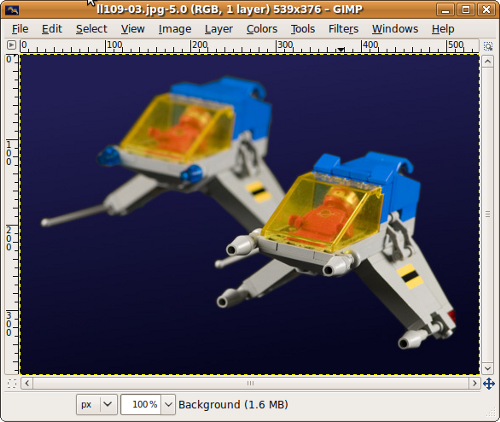
- Open your image in your favorite Image Editor (I'm using GIMP, which you can download here).
- Download the logo from here, then load it into the image editor.
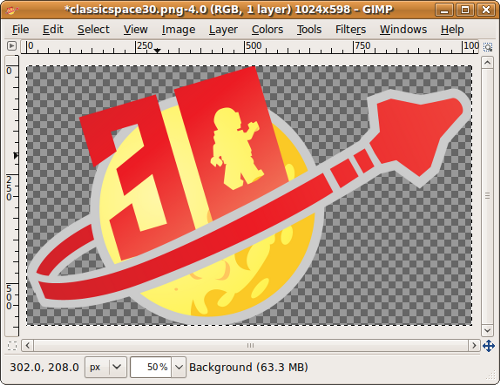
- Still in the logo window, use the Edit->Select All then Edit->Copy commands to copy the logo to the clipboard.
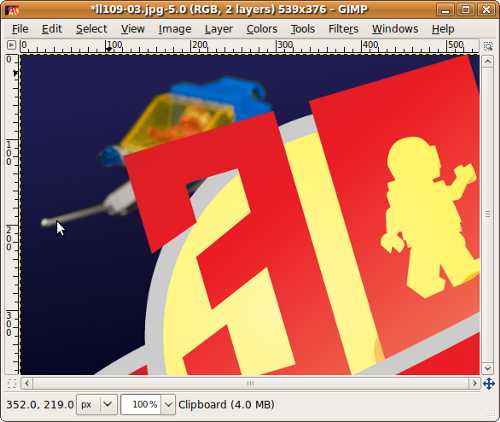
- Switch back to the window containing the image of your model, then use the Edit->Paste As->New layer connand to insert the logo into your image. It will probably cover up more than you want it to, but don't panic, your photo is still behind the logo.
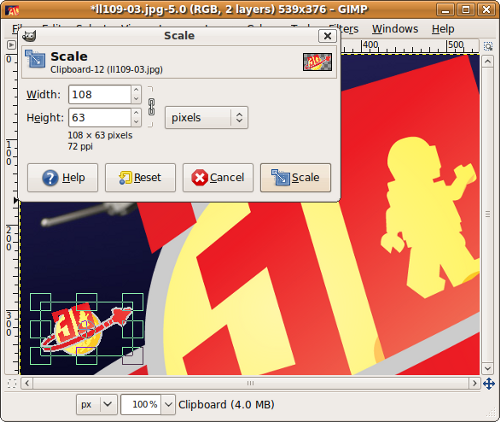
- To resize the logo you need to pick the resizing tool. In GIMP it looks like this:

Select the tool, then click on the logo. A resizing dialog will pop up. In GIMP this contains a chain link icon thatensures that the proportions won't get distorted when you resize (In some programs this is achieved by holding shift while dragging).
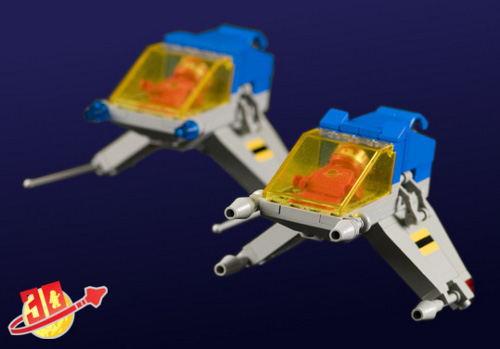
Drag the logo until it shrinks to about a fifth of the width of your photo. Position it in any corner of the photo (whichever corner interferes least with the subject matter).
- Save your image and upload it!
Classic Space Sites
Lego Blogs
Lego Communities
Random image
